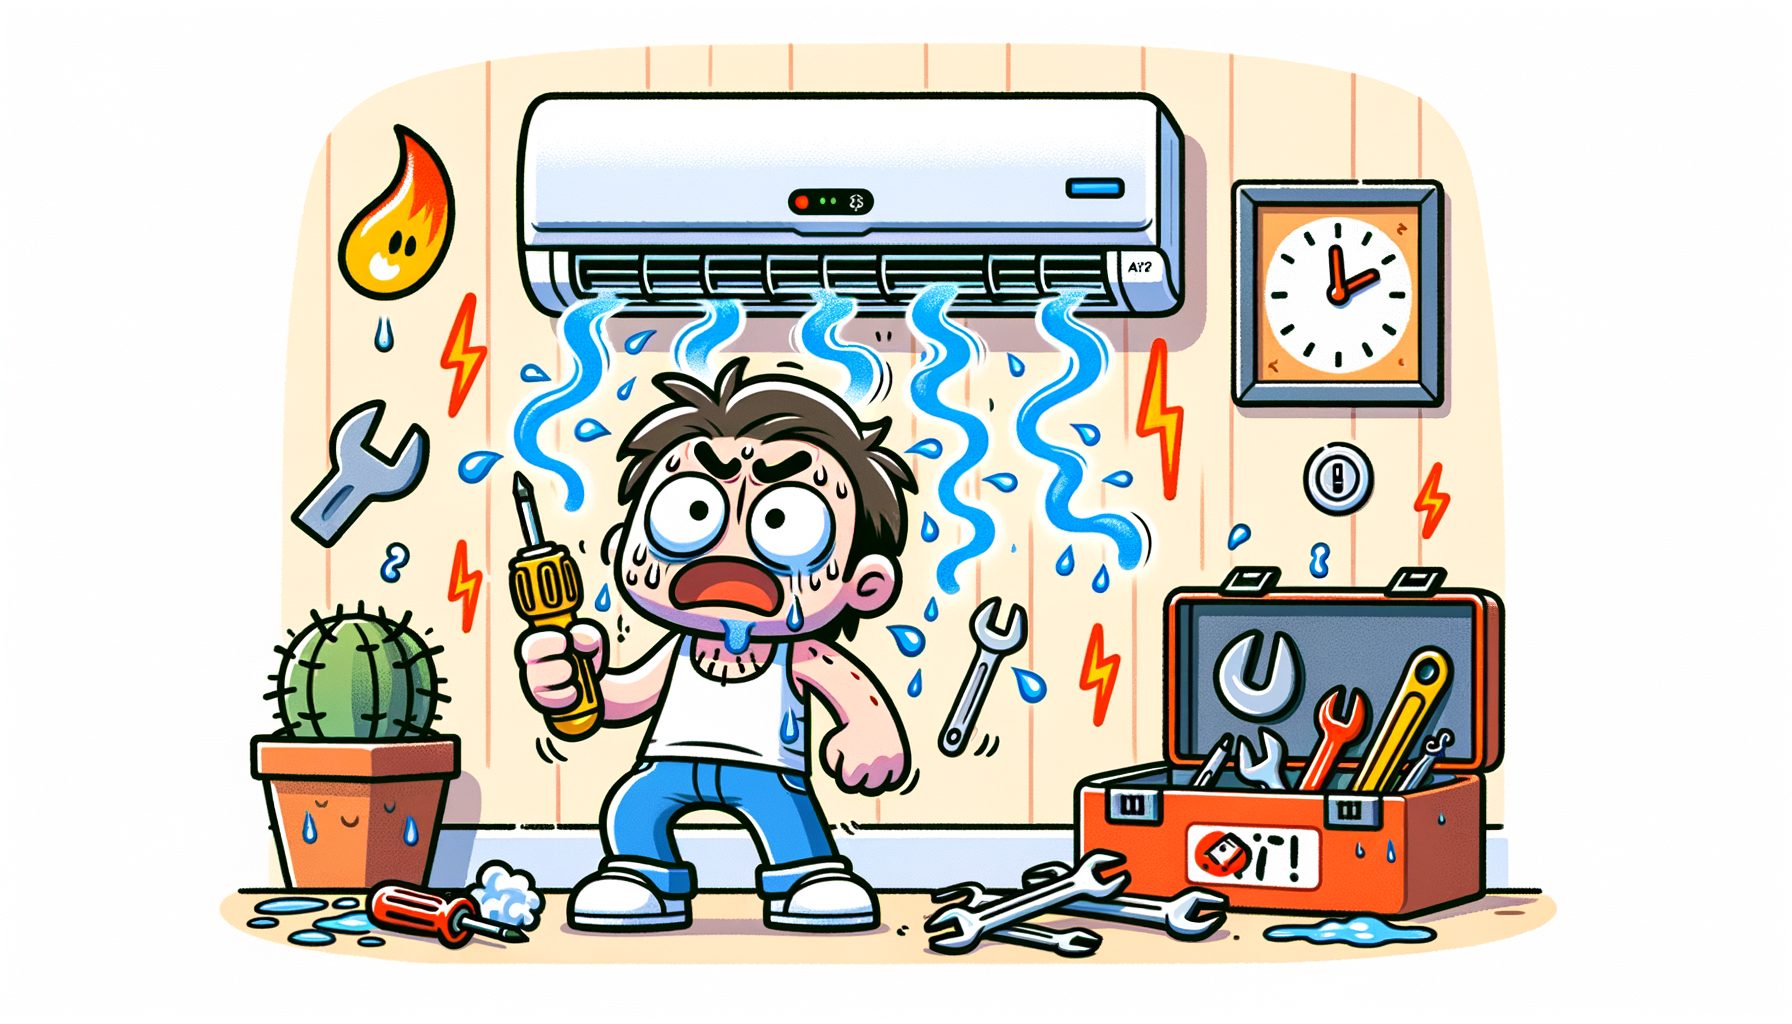
Is your AC failing to cool right when you need it most? Few things feel worse than warm air blasting from a vent while the temperature climbs. The good news: most cooling problems stem from a small set of common issues you can check in minutes. In this guide, you’ll discover the top reasons an air conditioner stops blowing cold air, plus simple fixes that restore cool air fast—without guesswork or costly missteps.
Start Here: A Fast Diagnosis Roadmap for an AC Not Cooling
When the air conditioner isn’t cooling, begin with the fundamentals. Many homeowners jump straight to “low refrigerant” or “major repair,” yet the most frequent culprits are simple: blocked airflow, dirty filters, incorrect thermostat settings, a frozen evaporator coil, or a clogged outdoor condenser. By checking a few items in order, you can often solve the problem in under 30 minutes—and avoid an unnecessary service call.
Begin by confirming the thermostat is set to Cool and the Fan is set to Auto. If Fan is set to On, it may push room-temperature air between cooling cycles, which feels like “no cooling.” After that, listen for both parts of the system: the indoor air handler (or furnace blower) and the outdoor unit (condenser). When the indoor blower runs but the outdoor unit is silent, think tripped breaker, condenser fan issue, or a bad capacitor. If both run yet the air remains warm or weak, airflow restrictions or a frozen coil are likely.
Airflow matters more than most people realize. A clogged return filter can slash airflow so much that the evaporator ices over, making cooling worse by the minute. Closed or blocked supply vents also reduce circulation. Outdoors, leaves or lint packed into the condenser fins prevent heat from being released. Imagine your AC as a heat mover: anything that blocks air in or out will sap cooling quickly.
Quick checks like these resolve a large share of “AC not cooling” complaints. Well, here it is: use the table below to translate symptoms into likely causes and the next steps.
| Symptom | Likely Cause | Easy DIY Fix | Call a Pro If |
|---|---|---|---|
| Weak airflow, lukewarm air | Dirty filter, blocked vents, frozen evaporator coil | Replace filter, open/clear vents, thaw coil by setting Fan to Auto and turning Cool off for 2–4 hours | Coil keeps freezing or airflow stays weak after thaw |
| Outdoor unit runs hot, little to no cooling | Dirty condenser coil, poor outdoor clearance | Shut power off; gently hose coil from inside out; clear 2 ft (60 cm) around unit | Fins are crushed, fan not spinning, or coil quickly re-clogs |
| Outdoor unit off; indoor blower on | Tripped breaker, failed capacitor, thermostat control issue | Reset breaker once; verify thermostat settings/batteries | Breaker re-trips; buzzing from condenser; fan won’t start |
| AC cools briefly, then warms | Ice buildup, low refrigerant, oversized system short cycling | Improve airflow; thaw coil; clean filter | Refrigerant suspected or repeated short cycling |
| Certain rooms hot | Duct leaks, closed dampers, poor insulation, solar gain | Open dampers, seal visible duct gaps with mastic, close blinds | Large leaks in hard-to-reach ducts; balancing issues |
As a quick benchmark, healthy systems often deliver a 15–20°F (8–11°C) temperature drop across the evaporator coil. If supply air barely feels cooler than room air—and airflow seems normal—refrigerant charge or compressor performance may be at fault.
Airflow Killers: Dirty Filters, Blocked Vents, and Frozen Coils
Airflow problems rank as the number one reason an AC won’t cool. The evaporator coil needs a steady stream of indoor air to absorb heat. Cut off that air, the coil gets too cold, humidity condenses, and ice may form—slashing cooling and risking component damage.
Begin with the return air filter. Can’t remember the last change? Swap it now. The U.S. Department of Energy notes that replacing a clogged filter can reduce energy use by 5–15%, and the cooling improvement often shows up immediately. Most homes need filter changes every 1–3 months during heavy use—sooner with pets, smokers, or dusty conditions. Avoid ultra-restrictive filters unless the system is designed for them; airflow is as critical as filtration.
Walk room to room. Ensure supply vents are fully open and not hidden by furniture, curtains, rugs, or boxes. Even “just a few blocked vents” can raise static pressure and cut total system airflow. Give return grilles attention, too—vacuum dust buildup and verify nothing is constricting them. In multi-story homes, upstairs returns and vents deserve special care because heat rises and upper floors are first to struggle.
Then this: if the filter was dirty or several vents were blocked, the evaporator may already be iced. Look for frost on the copper refrigerant line near the indoor unit, very weak airflow, or a faint hiss as ice melts. To clear it, turn cooling Off, set the Fan to Auto, and let fan-only mode run 2–4 hours to thaw. Towels under the air handler catch meltwater. While thawing, replace the filter and open vents. After the ice disappears, restart cooling and monitor. Should the coil refreeze within hours or a day—even with a clean filter—suspect a deeper issue such as low refrigerant or a failing blower motor that warrants a professional.
What’s interesting too, a couple of airflow habits make a big difference: keep interior doors open during cooling to support return-air pathways, and resist closing many vents to “push” air elsewhere. That old trick often backfires by raising system pressure, encouraging coil freeze, and reducing overall cooling. Airflow isn’t a luxury; it’s the lifeblood of your AC.
Outdoor Unit Problems: Dirty Condenser, Fan Issues, and Poor Clearance
Heat absorbed indoors must be rejected outdoors by the condenser. When that heat can’t be dumped efficiently, expect longer run times, warmer supply air, and higher energy use. Dirt, cottonwood fluff, lint, and leaves are the usual suspects. Even a thin film of grime on condenser fins can hammer heat transfer.
Take a look around the condenser. ENERGY STAR calls for at least 24 inches (about 60 cm) of clear space on all sides and 60 inches (about 1.5 m) above. Trim shrubs, remove clutter, and keep grass clippings away. Power should be shut off at the disconnect and breaker before cleaning. Remove the top fan shroud only if you’re comfortable; otherwise, access the coil from the outside. Rinse the fins gently from the inside out when possible, or from the top down at a shallow angle—skip the pressure washer. The goal is to wash debris out rather than force it deeper or bend fins. Minor bends can be straightened with a soft fin comb to restore airflow.
With the power still off, perform a quick visual check: Are fan blades intact and secure? Any oil stains or burnt smells suggesting a failing motor or compressor? On restoring power, watch the startup. A steady compressor hum should be heard, and the fan should spin up immediately to full speed. If the fan struggles to start or a buzzing/clicking noise is present, a failed capacitor is a prime suspect. Capacitors store electrical charge to help motors start and run. They’re inexpensive parts, but replacement is risky due to stored voltage—call a licensed HVAC technician.
Site conditions matter, too. On extremely hot days, a condenser baking in direct sun may struggle more, especially if system sizing is marginal. Adding a shade structure that doesn’t choke airflow can help, but never enclose the unit. Keep in mind, condenser cleaning remains one of the most effective DIY steps—many homeowners notice a performance boost immediately after a careful rinse.
Finally, check the condensate drain line at the indoor unit. A clog can trip safety switches that shut cooling off to prevent overflow. If the thermostat says cooling is “on” but you get no cold air and the air handler stays silent, a tripped float switch from a blocked drain might be the reason. Clearing the drain with a wet/dry vacuum at the outside termination or flushing with diluted vinegar can restore operation in minutes.
Refrigerant Leaks and Thermostat Mistakes: When to DIY and When to Call a Pro
Refrigerant moves heat from inside to outside. Unlike fuel, it isn’t “used up”; if levels are low, a leak exists. Low refrigerant reduces cooling capacity, can freeze the evaporator, and risks compressor damage. Expect longer cycles, ice on the indoor coil or suction line, and lukewarm air despite good airflow. If a leak is suspected, it’s time to call a professional. In many countries, including the United States, only certified technicians may handle refrigerants under environmental rules, and proper leak detection, repair, and recharging require specialized tools and training.
Before assuming a refrigerant problem, eliminate simple setting errors. Verify the thermostat is set to Cool with a target temperature at least 3–5°F (2–3°C) below room temperature. Replace batteries on battery-powered thermostats. Ensure the Fan is on Auto, not On. The On setting runs the blower continuously and can blow air that feels warm between cycles—often misread as “the AC isn’t working.” If you use smart schedules or geofencing, confirm setbacks aren’t too aggressive; large setbacks can leave the AC chasing the setpoint for hours during heat waves.
Short cycling—rapid on/off cycling—may point to thermostat placement (too close to a supply vent or in direct sun), a dirty filter, an oversized system, or control issues. Move a portable thermostat or shade it from sunlight to test for improvement. Otherwise, a deeper diagnosis is wise.
When is a pro clearly needed? Breakers keep tripping, electrical components buzz or smell burnt, the outdoor fan won’t start, the coil keeps freezing even with restored airflow, or a refrigerant leak is suspected. A licensed HVAC technician can measure system pressures, superheat and subcooling, test capacitors and contactors, and assess compressor health. They can also brief you on refrigerant regulations and options if the unit uses a phased-out refrigerant.
Good news: many “no cool” calls trace back to airflow and maintenance. But when refrigerant, electrical, or control problems show up, quick professional help protects the system and often minimizes total cost by preventing collateral damage.
Ducts, Insulation, and Heat Load: The Hidden Reasons Your AC Struggles
Even a perfectly functioning AC can’t keep up if the house is fighting back. Duct leaks, weak insulation, high humidity, and intense solar gain can overwhelm the system on hot days. According to ENERGY STAR, 20–30% of air moving through a typical home’s ducts can be lost to leaks, holes, and poor connections. That missing cold air never reaches your rooms—so the AC runs longer to compensate.
Check accessible ducts in attics, basements, or crawlspaces. Look for disconnected sections, gaps at joints, and kinks in flexible duct. Seal visible leaks with mastic or UL-181 foil tape (skip standard cloth duct tape). Support long runs of flex duct to prevent sagging that restricts airflow. If rooms far from the air handler stay warm, duct balancing or additional returns might be needed—tasks a pro can evaluate with airflow measurements and static pressure tests.
Next up, consider the home’s heat load. Big south- and west-facing windows can drive temperatures up quickly. Close blinds or thermal curtains during peak sun, add exterior shading where practical, and use reflective window films if permitted. Cooking, long hot showers, and heat-heavy electronics add degrees indoors; schedule these activities for cooler hours when possible.
Humidity plays a role as well. Air feels warmer when it’s humid because sweat evaporates less effectively. Ideally, indoor humidity should hover around 40–60%. If the AC runs constantly but the space still feels clammy, try a standalone dehumidifier or have a pro check if the system is oversized. Oversized units cool quickly but don’t run long enough to remove moisture, leaving the space cool-ish yet humid. In coastal or tropical climates, moisture control can be as important as temperature control.
Insulation upgrades and air sealing often deliver standout bang for the buck. Sealing attic penetrations, adding attic insulation, and weatherstripping doors and windows reduce how much heat the AC must remove. These improvements persist—working every hour of every day—and they boost comfort while cutting energy bills.
Finally, sizing truly matters. An undersized AC will run nonstop on the hottest days and still fall short. Oversized systems short cycle and leave humidity behind. Proper sizing uses a Manual J load calculation, not square-footage rules of thumb. If you’re replacing or upgrading equipment, ask for a load calc rather than “same size as before.” Homes change—windows, insulation, occupancy, and additions all affect cooling needs.
Quick Q&A: Common Questions About AC Not Cooling
Q: How often should I replace my AC filter?
A: Most homes need a new filter every 1–3 months during cooling season. Check monthly and replace when dirty. Pet hair, smoke, or allergies may require more frequent changes.
Q: My indoor unit runs but the outdoor unit won’t start. What now?
A: Check your breaker panel and the outdoor disconnect. Reset a tripped breaker once. If it trips again or you hear buzzing, call a pro—this can indicate a capacitor, fan motor, or compressor issue.
Q: Is it safe to hose off my outdoor AC coil?
A: Yes—turn off power first and use a gentle stream (no pressure washer). Rinse from the inside out if accessible, or at a shallow angle. Avoid bending fins.
Q: Why does my AC blow air that isn’t very cold?
A: Usual causes include a dirty filter, blocked vents, a dirty condenser, or high indoor humidity. If airflow looks good and the air is still barely cooler than room temperature, have a technician check refrigerant charge and system performance.
Q: Can low refrigerant be a DIY fix?
A: No. Refrigerant must be handled by certified technicians. If levels are low, there’s a leak that needs to be found and repaired to protect your system and comply with regulations.
Conclusion: From Hot and Frustrated to Cool and Confident
When the AC isn’t cooling, the fastest path to relief is a methodical check of the usual suspects. Start with airflow: replace the filter, open and clear vents, and thaw any ice on the evaporator coil. Head outside to restore the condenser’s ability to shed heat by rinsing the coil and clearing vegetation within a two-foot radius. Confirm thermostat settings (Cool, Fan on Auto) and verify breakers aren’t tripped. These simple actions fix a majority of “no cool” problems at minimal cost.
Then this: if symptoms point beyond DIY—repeated freezing even with good airflow, outdoor unit buzzing or failing to start, persistent lukewarm air with normal airflow, or breaker trips—bring in a licensed HVAC technician. They can test electrical components safely, measure refrigerant pressures, and evaluate overall system health. Remember, refrigerant doesn’t get used up; low levels signal a leak that needs professional repair. Acting early protects the compressor and reduces total repair costs.
Don’t overlook the house itself. Duct leaks, poor insulation, high humidity, and solar gain can make any system struggle. Sealing ducts, adding insulation, shading sunny windows, and managing indoor humidity all lower your cooling load, improve comfort, and cut energy bills. These changes pay off across seasons.
Ready to feel the difference today? Do the quick five: replace the filter, open vents, thaw coils, clean the condenser, and confirm thermostat settings. If cooling still falls short, schedule a professional diagnostic and ask for a Manual J load calculation to ensure right-sizing. Your future self will thank you during the next heatwave.
Well, here it is: take control of your comfort—small steps create big relief. What’s the first fix you’ll try today?
Helpful Resources and Further Reading
ENERGY STAR: Maintain Your Air Conditioner
U.S. Department of Energy: Maintaining Your Air Conditioner
U.S. EPA Section 608: Refrigerant Handling Requirements
ASHRAE Standards and Guidelines (HVAC Fundamentals)
Sources
• U.S. Department of Energy. “Maintaining Your Air Conditioner.” https://www.energy.gov/energysaver/maintaining-your-air-conditioner
• ENERGY STAR. “Maintain Your Air Conditioner.” https://www.energystar.gov/saveathome/heating_cooling/maintain-your-air-conditioner
• ENERGY STAR. “Duct Sealing.” https://www.energystar.gov/saveathome/seal-air-leaks
• U.S. Environmental Protection Agency. “Section 608 Refrigerant Management Program.” https://www.epa.gov/section608
• ASHRAE. “Standards and Guidelines.” https://www.ashrae.org/technical-resources/standards-and-guidelines