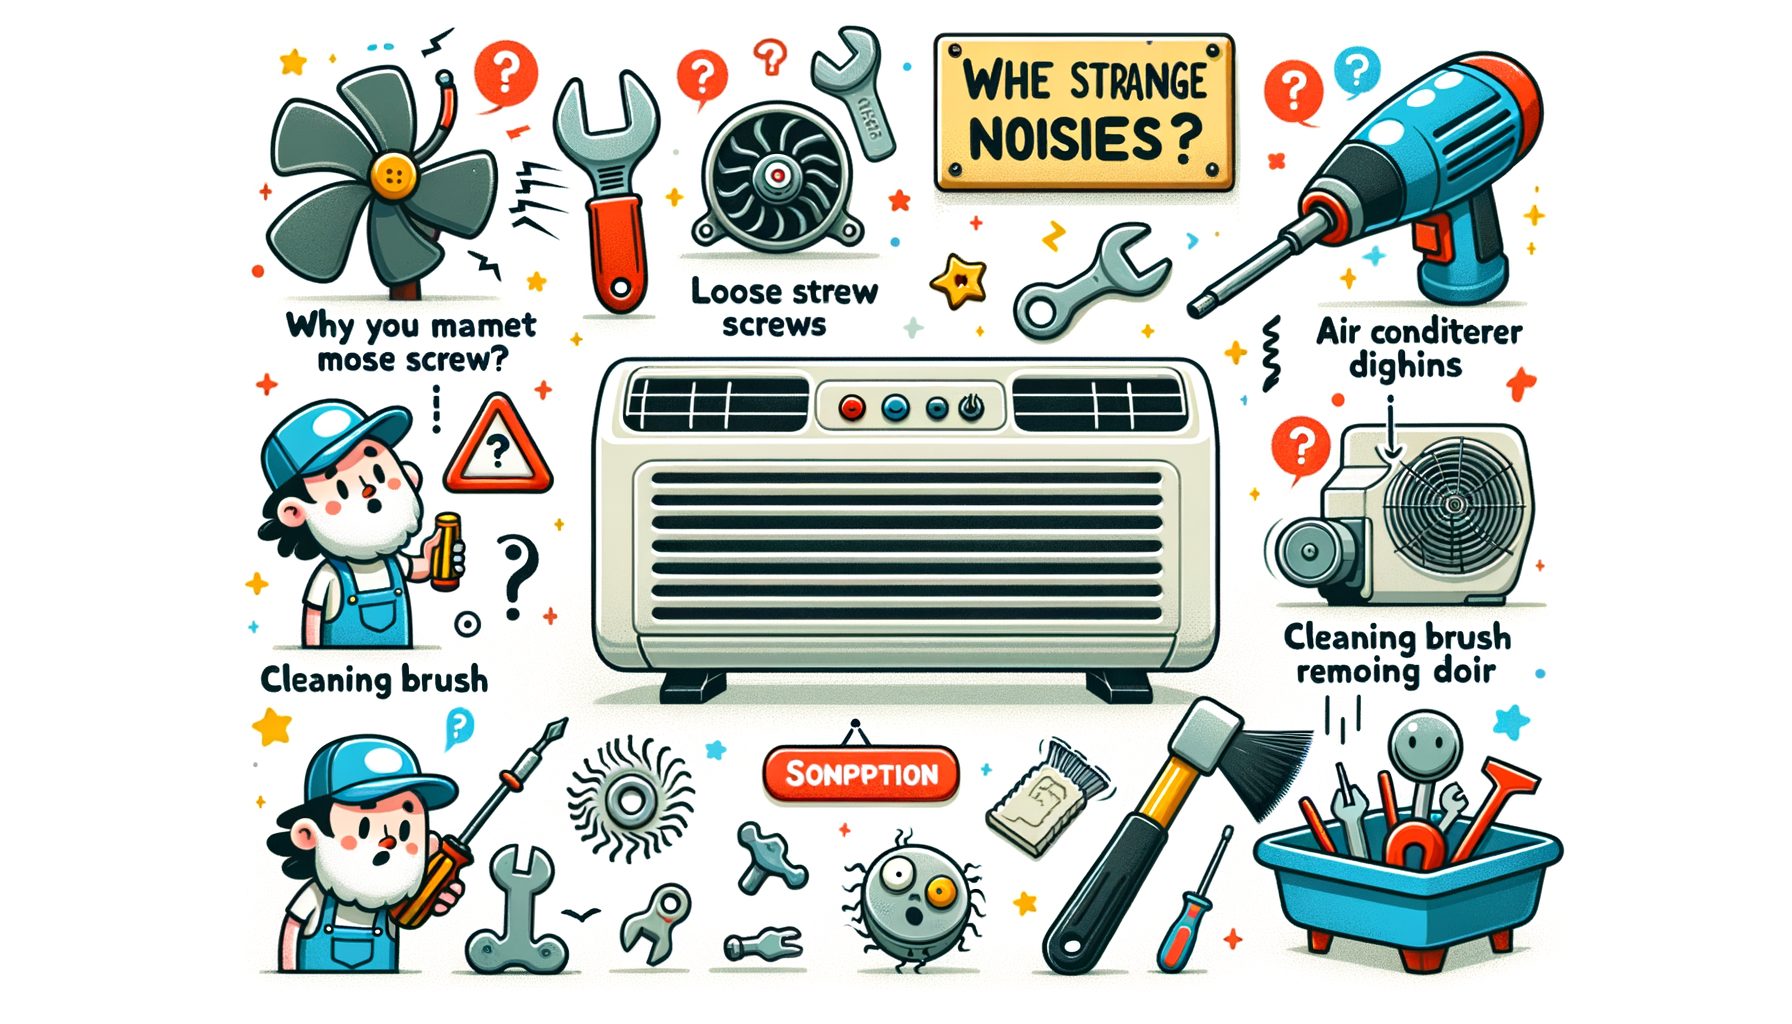
When an air conditioner starts making odd sounds, it’s not just irritating—it’s a warning. A soft hum? Normal. Buzzing, rattling, hissing, squealing, clicking, thumping, or grinding? Those usually signal loose hardware, airflow restrictions, electrical faults, or a failing part. Ignore the racket and the odds climb: breakdowns, higher energy use, even expensive damage. In the sections below, you’ll see what each noise suggests, the safe fixes you can try today, when to call a pro, and how to keep the unit quiet and efficient during the hottest stretch.
The real problem behind AC noise (and why it matters)
Most residential systems are engineered for quiet operation—about 50–70 decibels—so odd sounds are a red flag. They tend to originate from five places: the outdoor condenser, the indoor air handler (or furnace blower), ductwork, thermostat and control circuits, or the refrigerant loop. Cooling may feel adequate, yet the noise can indicate early wear that cuts efficiency, shortens equipment life, and raises utility bills.
Why does it matter? Vibrations and loosened hardware can snowball from a small annoyance into warped fan blades, cracked drain pans, or ruined bearings. When airflow is restricted, the system runs longer, energy costs rise, and the compressor is stressed. Electrical buzzing or rapid clicking often points to relays or capacitors that may soon prevent startup—or, if neglected, create a safety hazard. Persistent hissing or bubbling commonly signals a refrigerant leak, reducing cooling performance and, if mishandled, harming the environment. A certified professional should address it.
Field data tells a consistent story: many noise calls come from simple issues—clogged air filters, loose panel screws, yard debris in the fan guard, or a condenser set out of level. Caught early, these are quick and inexpensive to fix. By contrast, grinding, sustained squealing, or metallic clanking often point to motor or compressor problems. Listening closely to both the sound and its location pays off. When strange noises arise, identify the type, check the low-hanging fruit first, and move quickly. Delay can turn a $10 filter into a $1,000 repair.
What the sound means: a noise-by-noise guide
Different sounds trace to different parts of the system. Match what you hear to the likely cause and you’ll know both the next step and the urgency. Use the quick guide below to narrow it down.
Buzzing: Commonly linked to electrical components (a failing capacitor or contactor) or an outdoor unit vibrating against a hard surface. It may also point to a dirty condenser coil that forces the fan or compressor to work harder.
Rattling or clanking: Usually a loose part—panel screws, fan grille, or small stones and twigs in the outdoor unit. If clanking persists from inside the cabinet, a misaligned or damaged fan blade is a suspect.
Hissing or bubbling: Frequently tied to refrigerant movement. A light hiss during operation can be normal, but persistent hissing or bubbling near connections can indicate a refrigerant leak that requires a licensed technician.
Squealing or screeching: High-pitched sounds often point to blower or fan motor bearings. In some older, belt-driven blowers, a slipping or worn belt may be to blame.
Clicking (repeated): One click at startup is normal; rapid clicking can suggest relay trouble, a failing capacitor, or thermostat/control wiring issues.
Thumping or banging: Often caused by debris or an out-of-balance fan. In ducted systems, duct “oil-canning” (metal popping as pressure changes) is also common, especially when dampers are poorly set.
Grinding or metal-on-metal: A serious warning—possibly motor bearings or compressor damage. Power the unit down and call a pro.
Here’s a practical reference table. Costs are estimates and vary by region, system type, and availability of parts.
| Noise | Likely Cause | Urgency | Quick Check | Typical Fix & Cost Range (USD) |
|---|---|---|---|---|
| Buzzing | Loose contactor or failing capacitor; vibrating panel; dirty condenser coil | Medium | Turn power off; inspect for loose panels/debris; look for bulged capacitor (do not touch) | Tighten panels $0–$50; clean coil $100–$250; capacitor/contact $120–$300 |
| Rattling/Clanking | Loose screws; debris in fan; bent fan blade | Medium | Remove leaves/sticks; tighten screws; check unit is level | Debris removal $0–$150; fan blade $100–$400 |
| Hissing/Bubbling | Refrigerant leak; high-pressure noise | High | Listen near line sets/joints; cooling performance reduced? | Leak find & repair $200–$1,500; refrigerant $100–$400+ |
| Squealing/Screeching | Worn motor bearings; belt issue (older systems) | High | Locate source: indoor blower vs. outdoor fan | Motor $300–$700; belt $50–$150 |
| Clicking (repeated) | Relay/contactor or thermostat issue | Medium | Check thermostat batteries/settings | Contactor/relay $120–$300; thermostat $80–$300 |
| Thumping/Banging | Out-of-balance fan; duct movement | Medium–High | Inspect fan guard; observe ducts while running | Fan balance/replace $150–$500; duct fixes $150–$600 |
| Grinding | Motor or compressor damage | Critical | Power down immediately | Motor $300–$700; compressor $1,200–$3,000+ |
If the noise comes and goes, note when it appears: at startup, during cooling, or at shutdown. Patterns help pinpoint the cause. A single loud click only at startup is likely normal, while recurring clicks that block startup suggest an electrical issue.
Safe DIY fixes and a step-by-step noise checklist
Before touching anything, think safety. Turn the system off at the thermostat and, if panels will be opened, shut power off at the breaker. Capacitors and internal wiring shouldn’t be handled. Smell burning, see smoke, or hear grinding? Stop and call a professional immediately.
Step 1: Replace or clean the air filter. Starved airflow creates whistling, hissing, or whooshing. Most homes do best with a change every 1–3 months—more often with pets or construction dust. A clean filter lowers energy use and protects the blower motor.
Step 2: Inspect the outdoor unit. Clear leaves, twigs, and dirt from the fan guard and around the condenser. Maintain at least 60 cm (2 feet) of clearance on all sides. With power off, gently remove debris inside. Check that the base is level; when it isn’t, vibration increases and compressor wear accelerates.
Step 3: Tighten accessible screws and panels. Rattles often come from loose access doors or fan grilles. With power off, snug the screws—avoid overtightening. Rubber or foam pads under condenser feet can cut vibration noise.
Step 4: Clean the condenser coil (outdoor). Dirty coils force the system to work harder and buzz louder. Rinse with a garden hose on low from inside out if panels allow safe access; high-pressure jets can bend fins. For heavy grime, bring in a professional.
Step 5: Check supply and return vents. Make sure vents are open and not blocked by furniture. Half-closed registers can cause whistling and duct popping as pressure fluctuates. If ducts thump, gently open nearby dampers to balance airflow.
Step 6: Inspect the condensate drain. A clogged drain may gurgle and can cause water damage. If your system has a visible drain line, a wet/dry vacuum applied at the exterior drain port can clear mild clogs. Unsure? Call a technician.
Step 7: Thermostat basics. Replace the batteries and confirm settings (cooling mode, fan on “Auto,” reasonable setpoint). Faulty thermostats can create repetitive clicking or short cycling.
What not to DIY: Sealed electrical compartments, capacitor discharge, and refrigerant handling are off-limits. Refrigerant leaks require certified professionals, and electrical parts carry shock risk. If noise persists after the checklist—or if it’s squealing, grinding, or persistent hissing—schedule a service visit.
Pro tip: Capture a 10–20 second video or audio clip of the noise near the source (indoor air handler, outdoor condenser, or vents). Share it with your technician to speed diagnosis.
When to call a professional, cost ranges, and choosing the right tech
Certain sounds mean it’s time to shut down and call a qualified HVAC technician: grinding, high-pitched squealing that won’t stop, persistent hissing/bubbling near refrigerant lines, or banging from inside the cabinet. Call as well if the system trips a breaker or refuses to start while clicking repeatedly. The risk of escalating damage is high, and specialized tools and certifications are often required.
What a professional will do. The tech will replicate the noise, measure voltages, test capacitors and motors, check refrigerant pressures, evaluate bearings and fan balance, and inspect ducts for restrictions or leaks. Suspected leaks may be tested with electronic detection or UV dye. Then this: they’ll verify proper charge and confirm airflow meets manufacturer specs.
What to ask before you book. Confirm the company is licensed and insured, that technicians are certified (for example, EPA Section 608 in the U.S.), and that a written estimate is provided. Ask about diagnostic fees (often $75–$150), parts and labor warranty, and same-day availability if the unit is in distress. If a major repair is recommended—like a compressor—seek a second opinion and compare with the cost of a newer, more efficient system.
Typical cost expectations. Minor fixes such as tightening panels or clearing debris may come in under $150. Electrical components like contactors and capacitors often land between $120 and $300 installed. Fan motors commonly range from $300 to $700. Refrigerant leak repair varies widely: $200 for a simple braze to $1,500 or more for complex leaks, plus refrigerant. A compressor replacement can exceed $1,200–$3,000. Prices vary by country, season, and brand—get a detailed quote.
How to choose the right technician. Look for recent strong reviews, clear communication, and transparent pricing. Ask whether a full system inspection is performed instead of jumping straight to a single part swap. Reputable companies explain the root cause, not just the symptom, and present options: repair now, monitor, or replace—with pros and cons. What’s interesting too: a great technician aims to prevent the next noise, not only stop the current one.
Q&A: quick answers to common AC noise questions
Q: Is it safe to keep running my AC if it’s noisy? A: If the sound is mild and you’ve checked for simple causes (filter, debris, loose panels), you can run it temporarily while monitoring. If you hear grinding, persistent squealing, strong hissing/bubbling, or banging, turn it off and call a pro to prevent damage.
Q: Can low refrigerant cause noise? A: Yes. Low refrigerant can produce hissing or bubbling and often reduces cooling performance. Only certified technicians should handle refrigerant, identify leaks, and recharge the system properly.
Q: How often should I replace my air filter to prevent noise? A: Generally every 1–3 months. Homes with pets, smokers, or construction dust may need monthly changes. A clean filter helps stop whistling, improves air quality, and lowers energy use.
Q: Why is the noise louder at night? A: Ambient noise drops at night, so you notice sounds more. Cooler night air can also change refrigerant pressures and duct expansion, making pops and clicks more noticeable. If the noise is new or getting worse, investigate further.
Conclusion: solve the sound today and protect your system for tomorrow
When an air conditioner makes strange noises, it’s your system’s way of asking for help. We covered what each sound typically means—from buzzing and rattling to hissing, squealing, and grinding—along with the checks you can do and the moments when a professional is the right call. The fastest wins are simple: replace a clogged filter, clear debris, tighten loose panels, and make sure the condenser is level. Airflow improves, component stress drops, and many noises stop immediately.
If the sound points to a deeper issue—repetitive electrical clicking, persistent hissing, or metal-on-metal grinding—shut the unit down and schedule a certified technician. Acting early almost always costs less than waiting. A good pro will find the root cause, explain your options, and help you weigh repair versus replacement for comfort and budget.
Here’s your action plan: today, swap the filter, walk through the checklist, and clear the outdoor unit’s surroundings. If the noise continues or sounds severe, book a service visit and share a brief recording to speed diagnosis. Well, here it is: set a reminder for seasonal maintenance—spring for cooling, and fall if you have a heat pump—so small issues never grow into big bills.
The quietest AC is a well-maintained one. A few simple habits keep your home peaceful, your energy bills down, and your system ready for heat waves. Start now, and by the time the next hot day arrives, the only sound you’ll hear is a gentle, healthy hum. What’s one small step you can take today—five minutes or less—to make your AC quieter and your home more comfortable?
Helpful resources and outbound links:
U.S. Department of Energy: Maintaining Your Air Conditioner
ENERGY STAR: Air Filter Guidance
EPA Section 608: Refrigerant Handling Certification (U.S.)
CPSC: Home Electrical Safety Basics
Sources:
U.S. Department of Energy. Maintaining Your Air Conditioner. https://www.energy.gov/energysaver/maintaining-your-air-conditioner
ENERGY STAR. Air Filters and HVAC Efficiency. https://www.energystar.gov/saveathome/heating_cooling/air_filter
U.S. Environmental Protection Agency. Section 608 Technician Certification. https://www.epa.gov/section608
ASHRAE. Technical Resources and Guidelines. https://www.ashrae.org/technical-resources
Consumer Product Safety Commission. Home Electrical Safety. https://www.cpsc.gov/Safety-Education/Safety-Guides/Home-Electrical-Safety