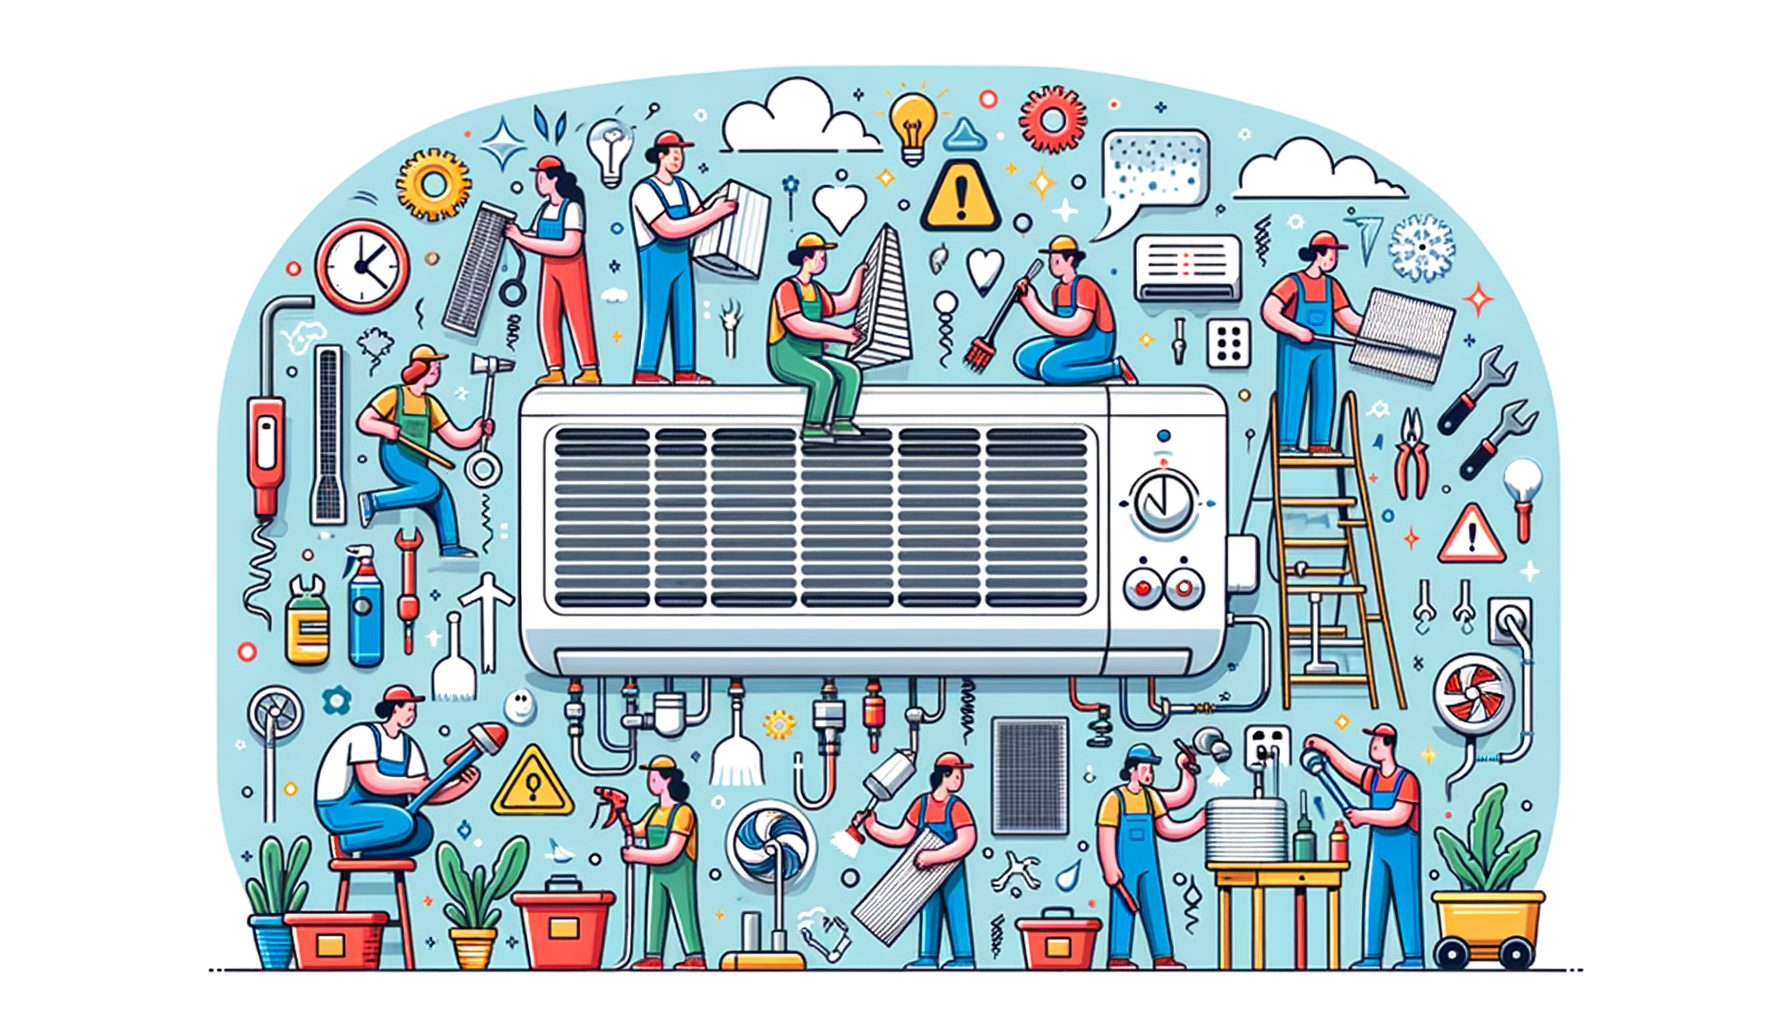
If your cooling bill is rising, your rooms feel less comfortable, or your unit sounds louder than last summer, you are not alone. Most breakdowns come from small issues left unchecked. In the pages below, you’ll find practical AC Maintenance Tips to Extend Your Air Conditioner’s Lifespan so you can prevent surprise failures, reduce energy costs, and keep cool with confidence. Stick with this plan for a season, and you’ll likely feel steadier temperatures, hear fewer strange noises, and see a noticeable drop on your next bill.
The real problem: Why ACs fail early and how simple maintenance prevents it
Air conditioners rarely “die of old age.” They wear out faster because filters clog, coils get dusty, refrigerant leaks go unnoticed, and drains clog—forcing the system to run longer and hotter. That extra stress accelerates compressor wear, fan motor strain, and electrical failures. The good news is that most of these risks are predictable and preventable with a small amount of routine care. Industry data suggests regular maintenance can cut the chance of major repairs by up to 40% and improve cooling efficiency by 10–25% compared to neglect. In simple terms, less dirt equals less heat, less heat equals less strain, and less strain equals a longer life for your AC.
Think about airflow as the primary lifeline. When the filter is dirty, your system can lose significant airflow, making the evaporator coil too cold and prone to freezing. Frozen coils stress the compressor—which is the costliest part to replace. Likewise, heat gets trapped by dirty outdoor condenser coils, and the unit is forced to run longer. If you’ve noticed your unit cycles constantly on hot days or the outdoor fan feels scorching to the touch, this is often the reason. Maintenance is not just about cleaning; it’s about keeping airflow, temperature, and refrigerant levels in a healthy balance so every part works within its design limits.
Well, here it is—a quick snapshot of how routine tasks protect lifespan and comfort:
| Maintenance Task | Recommended Frequency | Typical Impact |
|---|---|---|
| Replace or clean air filter | Every 1–3 months | Restores airflow, lowers energy use 5–15%, prevents coil freeze |
| Clean outdoor condenser coil | Seasonally or after pollen/dust storms | Reduces head pressure, improves cooling capacity and efficiency |
| Clear condensate drain | Every season | Stops leaks, prevents mold and sensor shutdowns |
| Professional tune-up | Annually | Finds small issues early, protects compressor, preserves warranty |
If you start with these simple steps, you’ll address the root causes of most failures. Even better, you’ll notice quieter operation and more consistent temperatures across rooms. A small investment of time every month pays off through fewer repair calls and extra years of service from your current unit.
Core routine: Monthly and seasonal AC maintenance checklist
Begin with a repeatable routine. A consistent, simple checklist prevents problems before they start and makes it easier to spot anything unusual early. Aim for a quick monthly pass, plus a deeper seasonal review at the start of cooling season and halfway through summer.
1) Check and replace the air filter. Pull the filter at your return grille or air handler and hold it up to light. If you cannot see light through it or it looks gray and fuzzy, replace it. A good rule of thumb is every 30–90 days depending on pets, smoke, construction dust, or allergy season. Choose the right MERV rating—too low and it misses fine particles; too high for your system can choke airflow. For most homes, MERV 8–11 balances filtration and flow. If you are unsure, check your system manual or ask a technician.
2) Inspect vents and returns. Walk room to room and make sure supply vents and returns are open and unobstructed by furniture, rugs, or drapes. Blocked vents increase static pressure and can cause rooms to feel uneven. If a room is consistently hot, opening its vent more and closing others slightly can help—but avoid shutting too many vents, which stresses the blower.
3) Listen for unusual sounds. Rattles may signal loose panels or screws. Grinding or screeching can point to motor or bearing issues. Clicking at startup is normal, but repeated rapid clicking could indicate a relay or capacitor problem. Catching these noises early often turns a major failure into a minor fix.
4) Verify thermostat settings and schedules. Set cooling to 24–26°C (75–78°F) for comfort and cost balance. Use smart scheduling to reduce run time when you are away. Enable geofencing if your thermostat supports it, so the system automatically relaxes setpoints when the house is empty.
5) Seasonal outdoor unit inspection. Before heavy cooling starts, shut off power to the condenser at the disconnect box, remove large debris, and gently hose the coil from the inside out. Keep vegetation trimmed at least 60 cm (2 feet) around the unit to improve airflow. Straighten bent fins with a fin comb if needed, and confirm the fan spins freely by hand when power is off.
6) Seasonal indoor unit check. Open the blower panel and carefully vacuum dust from around the blower and cabinet base if accessible. Inspect the evaporator coil housing for dirt buildup and check for signs of water around the condensate pan. Clean the drain line by pouring a cup of white vinegar or a few tablespoons of diluted bleach into the cleanout, followed by water. Doing so discourages algae that cause clogs.
7) Inspect the condensate safety switch. Many systems have a float switch that shuts down cooling if the drain pan fills. Test gently to ensure it moves freely. A working switch can save your ceiling from water damage during peak humidity.
Document what you do in a notes app with dates, filter size, and any observations. The habit builds a service history you can share with a technician, speeds troubleshooting, and proves maintenance for warranty claims.
Deep cleaning: Coils, condensate, and airflow fixes you can do safely
Beyond the basics, safe deep cleaning restores efficiency and reduces strain. Always cut power at the breaker or disconnect before opening panels, and wear gloves and eye protection. For the outdoor condenser coil, remove the top grille only if the fan wiring allows; otherwise, clean from the sides. Use low-pressure water from a hose nozzle to rinse the coil fins from the inside out. Avoid pressure washers—they can flatten fins and damage the coil. If buildup is heavy or greasy, use a coil cleaner labeled for outdoor condensers, following the instructions and rinse thoroughly. After cleaning, the unit should feel less hot to the touch and may run shorter cycles.
Indoors, the evaporator coil is often harder to access. If you can safely see the coil, look for dust mats or biological growth. Light dust can sometimes be vacuumed with a soft brush attachment. If the coil is visibly dirty or the unit has a history of freezing, it is best to call a professional for a no-rinse coil cleaner or disassembly. A clean evaporator coil improves heat exchange and helps maintain target temperatures without overworking the compressor.
The condensate system deserves special attention in humid climates. Algae and biofilm form naturally in the drain line. Flush the line every season using vinegar and water, and consider installing a condensate cleanout tee if you do not already have one. In areas prone to clogs, a condensate pump may be used; check it by pouring water into the pan and confirming the pump activates and discharges outside. If you ever see repeated pan overflows, water stains, or musty smells, address the drain path immediately to avoid water damage and health concerns.
Airflow fixes can be simple. Seal visible duct leaks at accessible joints with mastic or foil tape rated for HVAC (not standard cloth duct tape). Even small leaks in basements, attics, or closets can waste conditioned air and increase run time. If rooms are uneven, ask about balancing dampers or a blower speed adjustment during a professional visit. Keep doors open between rooms during cooling hours to improve return airflow, unless your system is zoned.
Handled carefully, these deep-clean steps lower system stress and extend life. If a task requires refrigerant handling, complex disassembly, or electrical testing beyond a simple multimeter, stop and schedule a pro to avoid voiding warranties or causing damage.
Smart optimization: Thermostats, shading, and load reduction to extend lifespan
Maintenance is only half of the longevity equation. Reducing the heat load on your home means your AC runs fewer hours, cycles less often, and stays within safe operating temperatures. Start with your thermostat. A smart thermostat that uses schedules, occupancy sensing, and geofencing can reduce cooling runtime noticeably. A modest change—raising your setpoint 1–2°C (2–4°F)—often saves several percent on energy without sacrificing comfort, especially if you use fans to create a wind-chill effect. For guidance on efficient settings and ENERGY STAR certifications, explore the U.S. EPA’s resources at ENERGY STAR.
Reduce solar gain. Close blinds or reflective shades on sun-facing windows during peak hours. Consider low-e window film or exterior shading devices where practical. Planting deciduous trees or adding awnings can lower summer heat while letting winter sun in. Simple steps like white or reflective curtains on the hottest side of the house can noticeably stabilize indoor temperatures and cut runtime on scorchers.
Improve building envelope basics. Seal gaps around doors and windows with weatherstripping and caulk. Add attic insulation to meet your climate zone’s recommendation. When the building holds cool air better, the AC cycles less, reducing compression cycles and wear. According to government energy guidance, tightening the envelope and upgrading insulation can lower overall cooling demand and is often the most cost-effective “upgrade” you can make before replacing equipment. See regional advice via the U.S. Department of Energy’s Energy Saver site at Energy Saver.
Use fans strategically. Ceiling fans on low or medium can make rooms feel 2–3°C cooler via evaporative and convective effects, letting you raise the thermostat slightly while maintaining comfort. Turn fans off when you leave the room; they cool people, not the air.
Finally, manage internal heat sources. Cook, run dishwashers, and use dryers in the morning or evening when possible. Switch to LED lighting and efficient electronics to cut waste heat. In multi-story homes, close the basement vents a bit and open upper-floor vents more during summer to encourage more cooling where heat naturally accumulates. These optimizations collectively reduce run time and extend equipment life by minimizing high-load peaks that stress components.
When to call a professional: Annual tune-ups, refrigerant issues, and warranty protection
Even the best DIY routine has limits. An annual professional tune-up is your safety net for detecting refrigerant problems, electrical issues, and hidden airflow restrictions. During a tune-up, a technician typically inspects capacitors and contactors, measures motor amperage, verifies temperature split, tests safety switches, cleans coils as needed, checks static pressure, and assesses refrigerant charge using superheat and subcool calculations. Those measurements reveal whether the system is operating within design specs or developing faults that hurt efficiency and lifespan.
Call a professional immediately if you notice icing on the indoor coil or refrigerant lines, bubbling or hissing near lines, oily residue at joints, a sweet or chemical smell, or a sudden drop in cooling performance. Refrigerant leaks are both a performance issue and, depending on the refrigerant type and region, an environmental concern. Only certified technicians should handle refrigerant per local regulations. They can also advise on transition options if your unit uses phased-out types and perform proper recovery and charging procedures.
Do not ignore electrical symptoms. Frequent breaker trips, burnt smells at the air handler, or melted insulation on wires are red flags. Shut off power and schedule service. Many systems fail because a weak capacitor or pitted contactor was left in place until it cascaded into a compressor failure. Replacing these inexpensive parts proactively is one of the best ways to protect your investment.
Warranty protection matters. Manufacturers commonly require proof of annual maintenance to keep parts warranties valid. Keep receipts and note serial numbers. If your unit is over 10 years old and showing frequent issues, ask about a load calculation and right-sizing before replacement. In some cases, addressing duct static pressure or coil sizing can significantly improve comfort and reduce energy use without a full equipment change. For general best practices, see the U.S. EPA’s homeowner guidance on indoor air quality and HVAC care at EPA IAQ.
Typical tune-up costs are modest compared to major repairs, and many contractors offer seasonal specials. A strong maintenance relationship with a reputable local company pays off with faster response times during heatwaves and better long-term reliability.
Quick Q&A: Common questions about AC maintenance
Q: How often should I change my AC filter? A: Most homes benefit from replacing or washing filters every 1–3 months. If you have pets, allergies, or recent construction dust, check monthly. Use a MERV rating that your system can handle—commonly MERV 8–11 for balanced airflow and filtration.
Q: Does professional maintenance really save money? A: Yes. A well-tuned system runs fewer hours, draws less electricity, and experiences fewer failures. Many households see 10–25% energy improvements after addressing airflow and coil cleanliness, and catching a weak capacitor early can prevent a costly compressor replacement.
Q: Can I clean the outdoor unit myself? A: You can safely remove debris and gently rinse the coil with low-pressure water after cutting power. Avoid pressure washers and harsh chemicals. If the coil is heavily soiled or bent, or if you are unsure, schedule a pro cleaning.
Q: What temperature should I set in summer? A: For a balance of comfort and efficiency, many people use 24–26°C (75–78°F) when home and higher when away. Use ceiling fans to feel cooler at the same setpoint, and consider a smart thermostat for schedules and geofencing.
Conclusion: Keep cool, save money, and add years to your AC
Let’s recap. Most AC problems start small—restricted airflow, dirty coils, minor electrical wear, or unnoticed drain clogs. By following a simple checklist and scheduling one professional tune-up each year, you attack the root causes of early failure. You protect the compressor, stabilize temperatures, and lower energy use. Add a layer of smart optimization—better thermostat schedules, shading, sealing, and mindful use of fans—and your system runs fewer stressful hours. The result is quieter operation, lower bills, and a unit that lasts longer than average.
Your next steps are simple. Today, check your filter, clear the outdoor unit, and flush the condensate line. Over the next week, walk your home to open blocked vents and set up thermostat schedules. Later this month, record a maintenance note with filter size and the date so you never guess again. Then, book a professional tune-up before peak heat. Small, consistent actions will keep your home comfortable through the toughest days.
If you found this guide helpful, share it with a friend or neighbor who could use a quick win on comfort and energy costs. Bookmark it for seasonal checkups. If you want deeper savings, explore the resources at Energy Saver and ENERGY STAR for tips tailor-made to your region.
Stay cool, stay proactive, and let your AC work smarter, not harder. What is the one maintenance step you will start this week to give your air conditioner an easier life?
Sources:
U.S. Department of Energy – Energy Saver
ENERGY STAR – Cooling and Thermostat Guidance
U.S. EPA – Indoor Air Quality and HVAC Resources
AHRI – Air Conditioning, Heating and Refrigeration Institute